A Little DIY – How I Made a Motorcycle Luggage Rack
One of the first pieces of gear I began searching for was a luggage rack to put onto the back of the bike. Nothing too extravagant, just a little extra space to tie down a gas can if need be. A lot of time searching yielded no results. I read what were essentially rumors of a specific rack that would fit my 1985 Honda Shadow vt700c, but nothing I could find for sale, especially not for a reasonable price.
Armed with a loosely visioned idea of what I wanted to make, I headed to Home Depot. Here’s what I grabbed:
- 8 ft. piece of aluminum channel stock – $10
- box of 1/2 inch self tapping screws – $5
- 4-5 packages of galvanized L brackets – $20
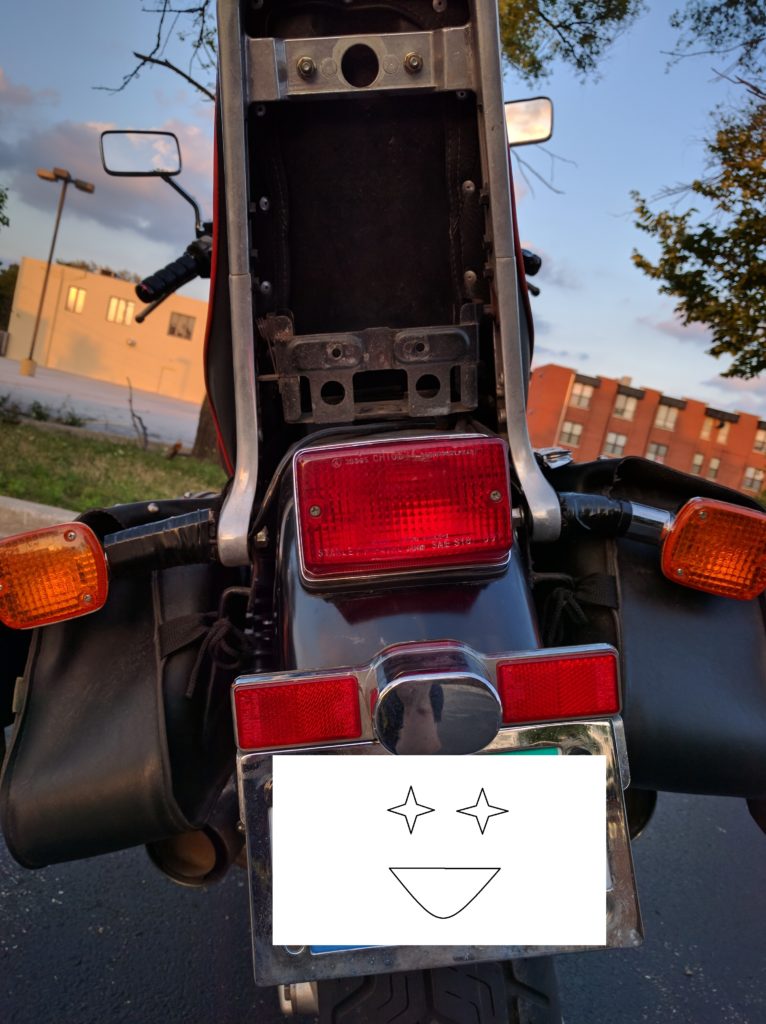
I had a general idea of where I wanted the rack to sit – above the taillight enough so that a vehicle behind me can still see it, but not so high that I couldn’t get the tool box out of the seat.
Speaking of taillight, a prerequisite to this project was re-positioning the license place and license plate light so that it sat underneath the taillight instead of above, the light pointing down now instead of up. There are two holes where a Honda Emblem once sat (mine was long gone) that the plate bracket screws right into. I clipped the wires leading to the light and extended them with some extra wire I found laying around in my brother’s obnoxiously messy basement shit-nest to reach it’s new home.
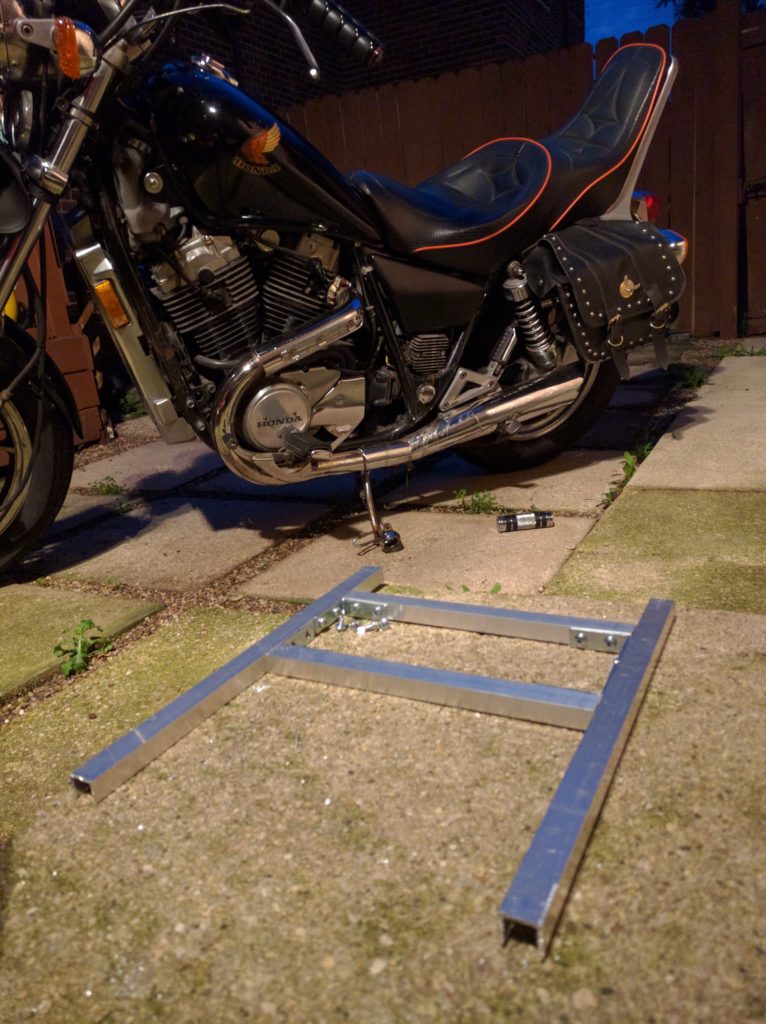
So back to my supplies. I cut a single 12 inch piece of the stock, thinking this was the length I wanted coming out from the back. After a lot of standing there holding up the piece to the back, I decided maybe that was a little too large. The dimensions of the rack wound up being around 9.5” x 10.5” of usable space and the side rails extend about 12” total.
After more staring and contemplating, I decided how and where I thought things should be mounted and started on making the rack itself.
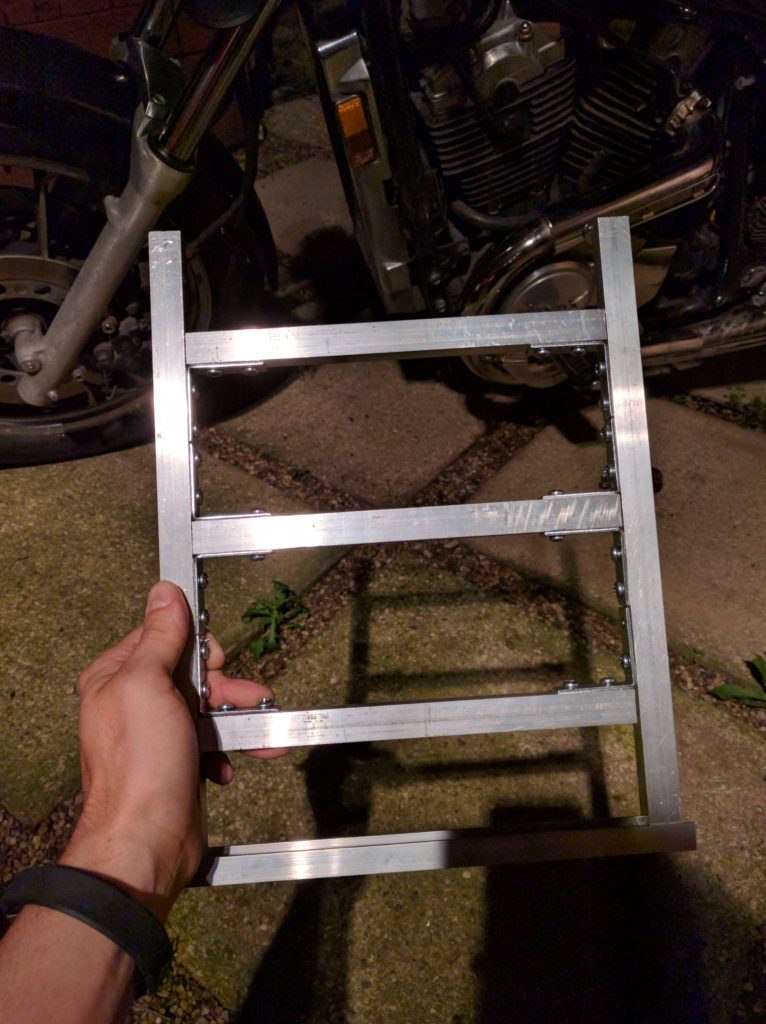
Pretty straight forward thus far. I used a hack saw with a fine tooth blade while the stock was clamped to the deck railing (sorry mom ^_^). Self tapping screws made it a cinch to piece together with the L brackets. Nothing had to be perfectly cut to size since the brackets kind of took care of squaring things up.
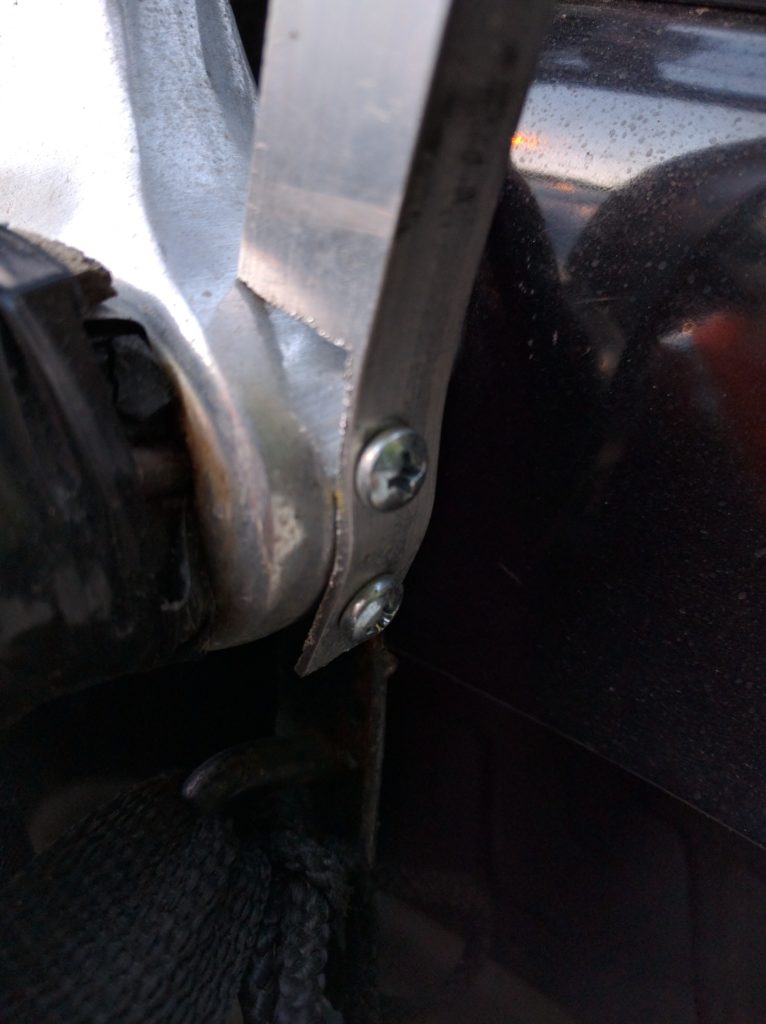
Now to figure out how to mount it. I really thought about getting some longer screws and drilling right into the side of the aluminum sissy bar, but didn’t want to deface it that badly. I compromised with drilling into a piece of the sissy bar that is under the seat and using an L bracket to connect the bike and the luggage rack.
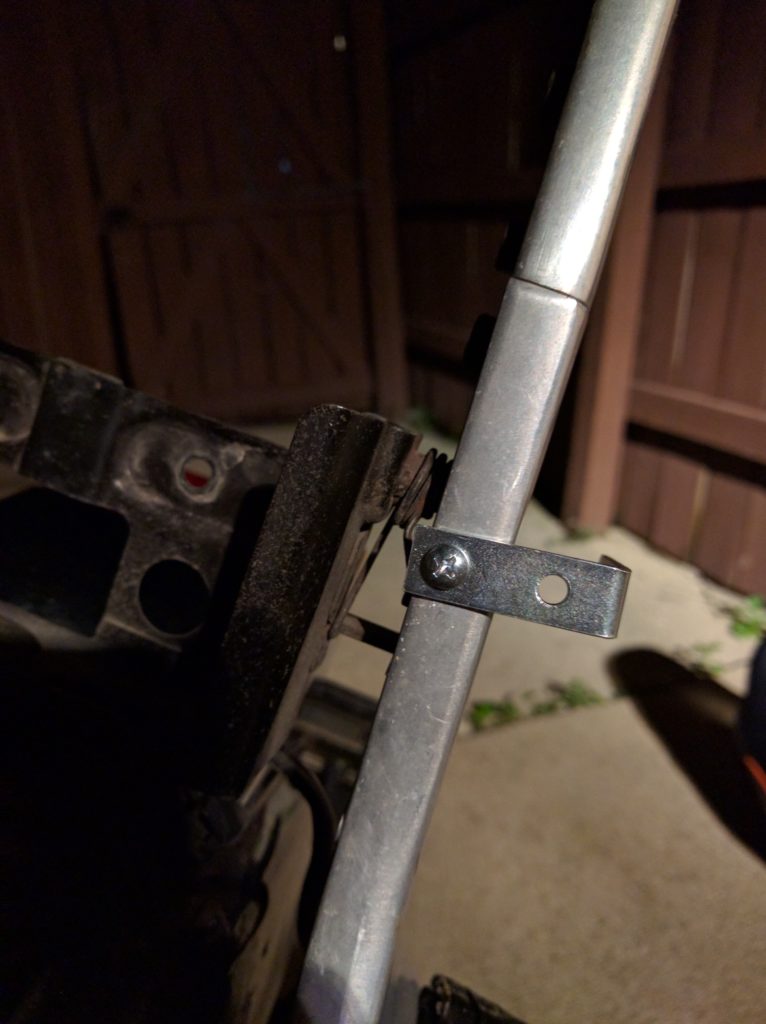
Attaching the rack itself to this at a slight angle made it decently sturdy, but not very trustworthy. Needed some extra support, so I fashioned some support pieces that hooked in at a 45 degree angle, screwing the bottom part right into the bike (though its fairly low and kinda out of sight. Still hurts inside a little)
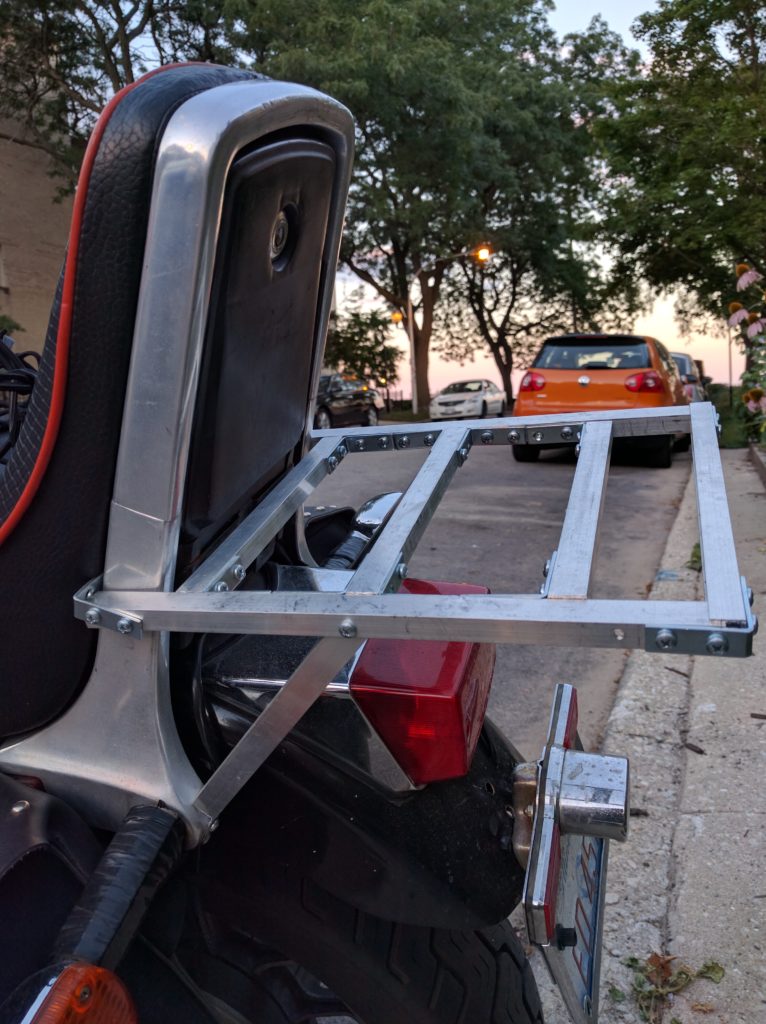
My weekend trip to Michigan was a good verification on it’s integrity. Doesn’t even look that bad for around 35 bucks and few hours of work.
One thought on “A Little DIY – How I Made a Motorcycle Luggage Rack”
Petey, your Aunt Tami, better know as YaYa, sent me your blog site address. I’m so glad she did. This is great! It’s inspiring me and I’m old! You’ll go far and I don’t just mean in miles. You can’t miss, you have a beautiful angel with you. We never really lose our loved ones. They just take on a new form where they can be with all of us always. You go Petey, you’re blessed